Add "Sign in with X" to Your Product
Your SqlOS app is an OpenID Provider. Give any other app — Next.js, ASP.NET Core, a partner's — a sign-in button backed by your users, with one client seed and a standard OIDC library.
By Ross Slaney
If you run a SqlOS-hosted application, you already run an OpenID Connect Provider. As of SqlOS 3.28, discovery, RS256 ID tokens, a UserInfo endpoint, and a consent screen ship on by default. That means the accounts in your app can sign users into other apps — a companion product, a partner integration, an internal tool — the same way "Sign in with Google" works, except X is your product.
This post shows what that looks like in practice.
What the relying party needs: nothing SqlOS-specific
The app adding the button does not install a SqlOS SDK. It uses any standard OIDC library and your discovery document:
https://x.example.com/sqlos/auth/.well-known/openid-configurationWith Auth.js in a Next.js app, the whole integration is one provider block pointed at that URL, using authorization code + PKCE with no client secret. The ASP.NET Core equivalent is AddOpenIdConnect with GetClaimsFromUserInfoEndpoint = true. Both are spelled out in the Sign in with X guide.
One detail to know when wiring up a client library: SqlOS follows OIDC Core and releases profile claims like name and email from the UserInfo endpoint, not the ID token. Configure your library to validate the ID token and fetch the profile from UserInfo — the guide shows the exact settings.
What the provider needs: one client seed
On the SqlOS side, register the relying party as a client:
auth.SeedClient(client =>
{
    client.ClientId = "app-y";
    client.Name = "App Y";
    client.RedirectUris = ["https://app-y.example.com/api/auth/callback/sqlos"];
    client.AllowedScopes = ["openid", "profile", "email"];
    client.ClientType = "public_pkce";
    client.IsFirstParty = false;   // users see a consent screen
});
Two settings carry the weight:
AllowedScopesmust includeopenid. The grant is the intersection of the client's allowlist and the request. Withoutopenidgranted, no ID token is minted and the flow degrades to plain OAuth.IsFirstParty = falsemeans users see a consent screen before the first sign-in — appropriate whenever the relying party is something the user would think of as a different application. First-party clients skip consent entirely.
Make the consent screen speak your product's language
The consent screen renders each requested scope by a display name you define. Raw scope strings are a poor user experience, so name them:
auth.SeedScopeDisplayName("openid", "Sign you in",
    "Confirm your identity to the app with an ID token.");
auth.SeedScopeDisplayName("profile", "See your name",
    "Share your display name and username.");
auth.SeedScopeDisplayName("email", "See your email address",
    "Share your email address and whether it is verified.");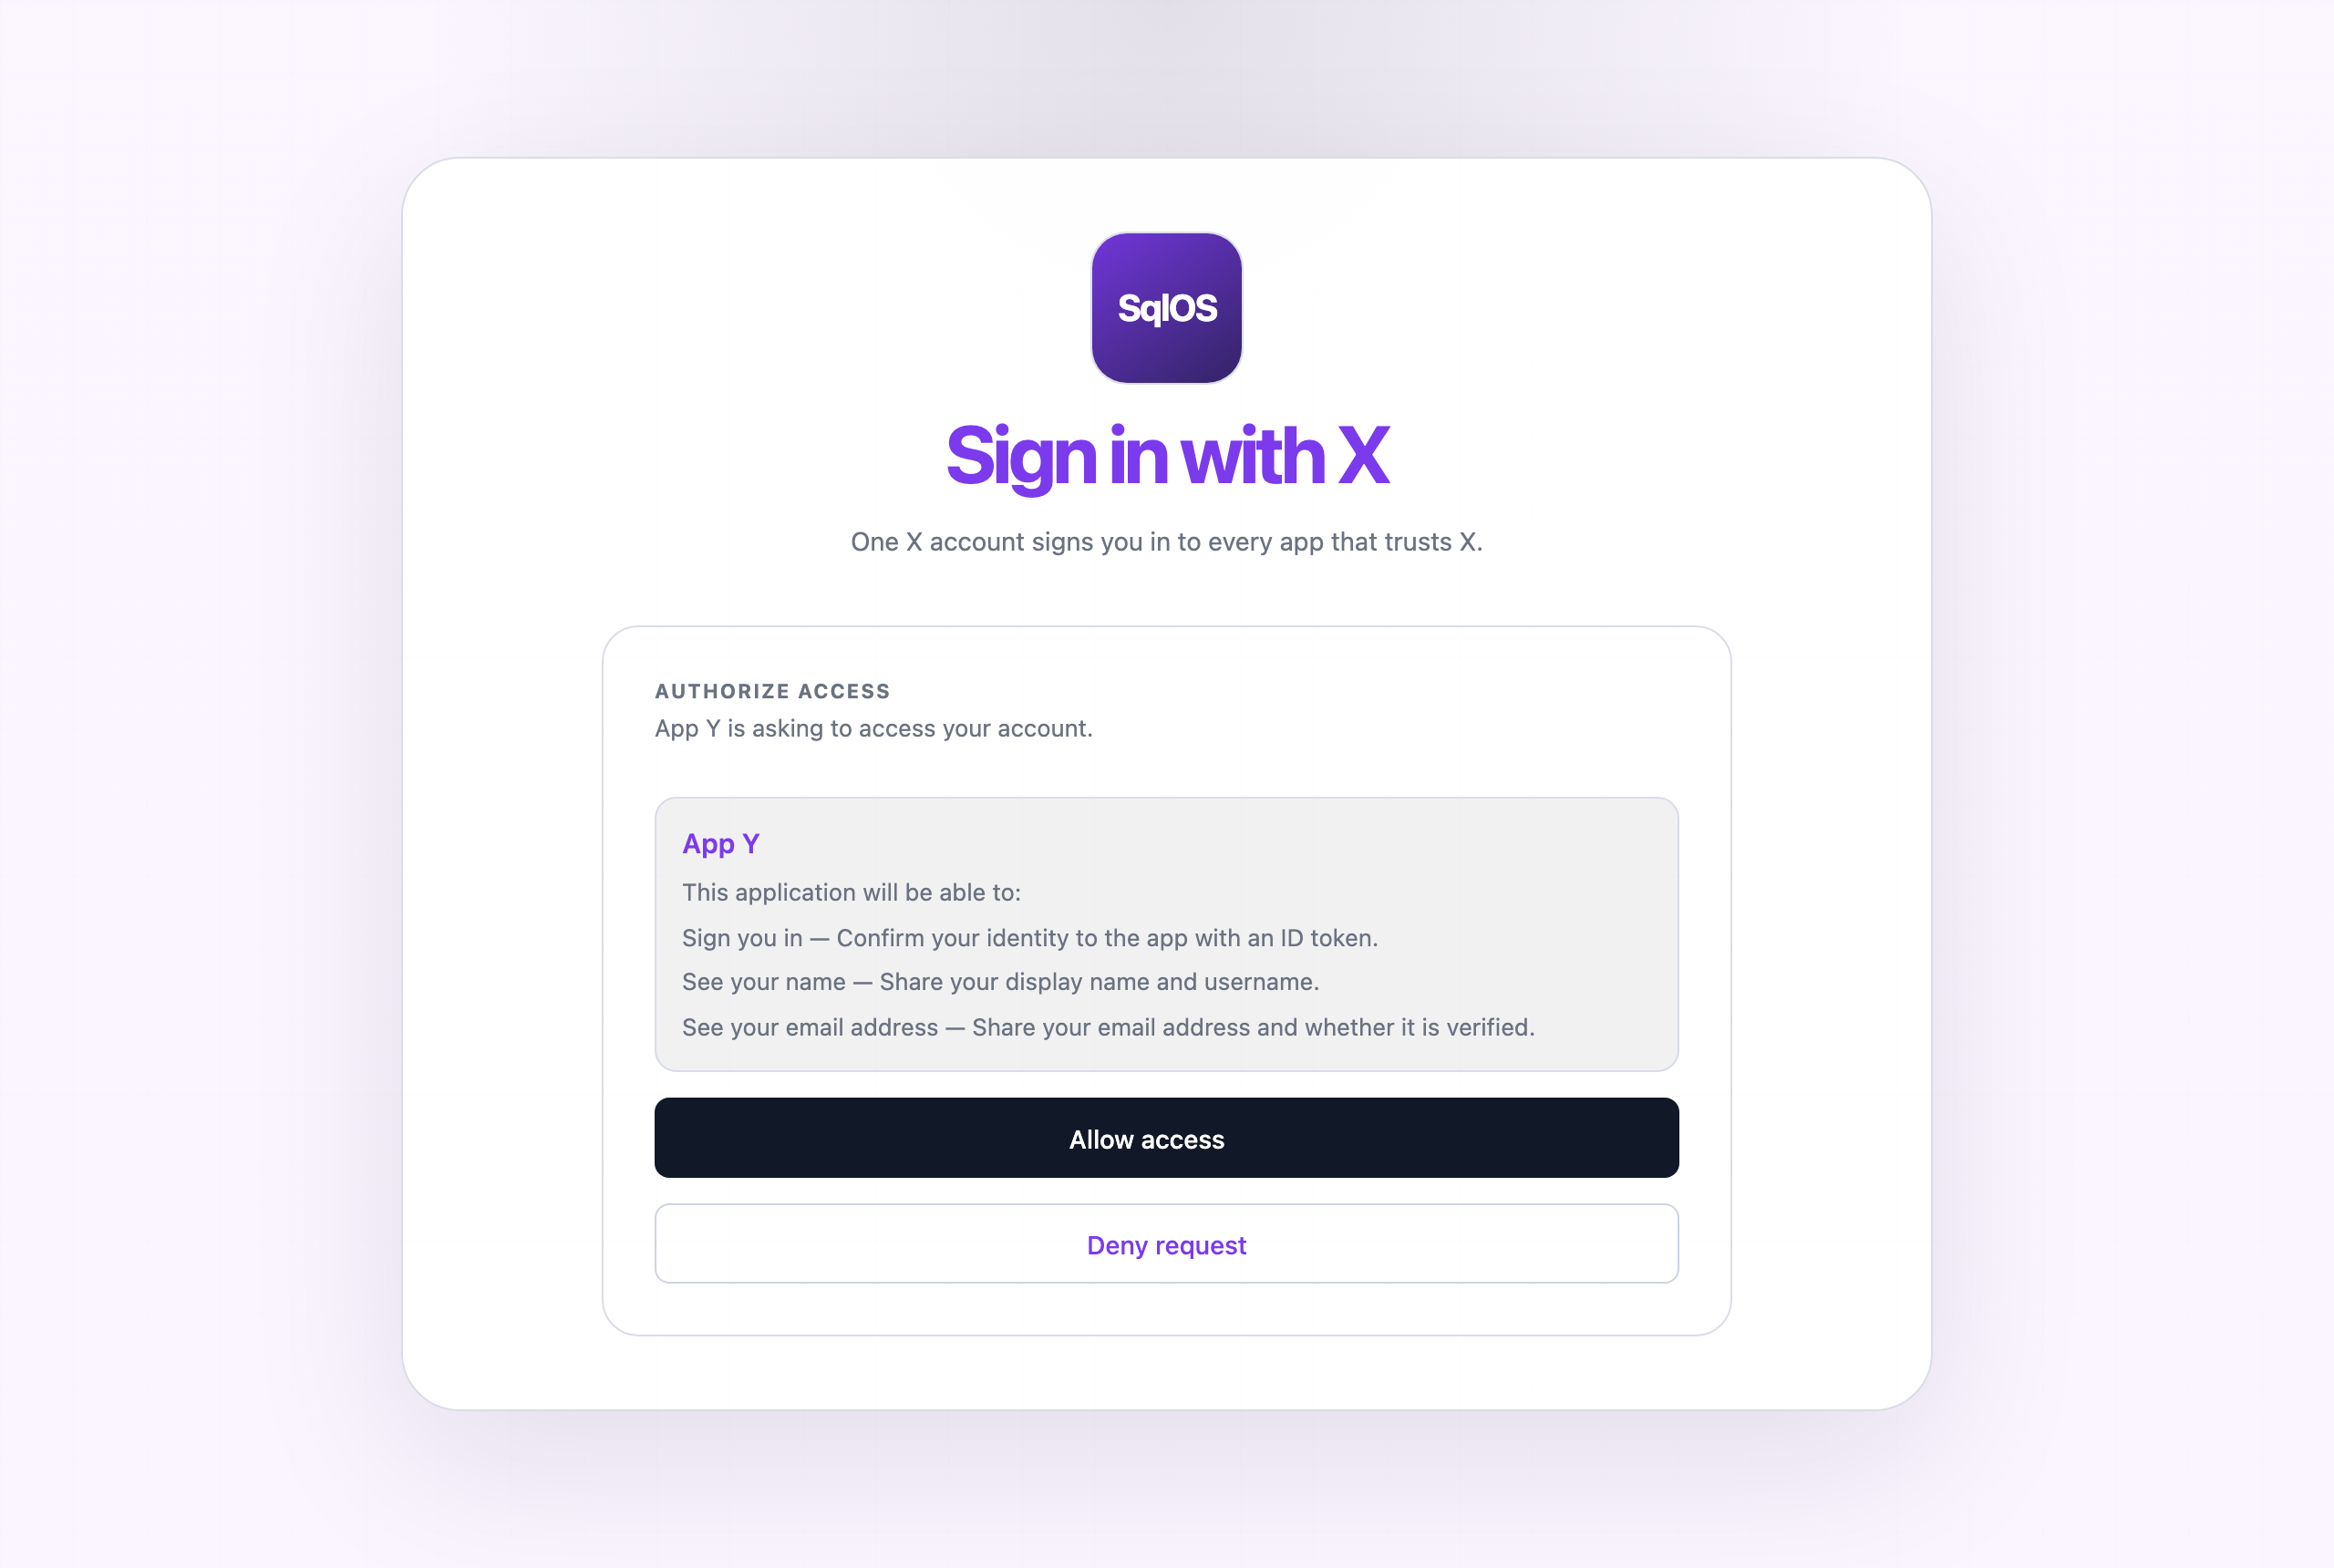
The same catalog is editable from the dashboard and the Admin API, and it also feeds the headless view model if you build your own login UI.
What your users experience
- First sign-in — your hosted login page, then the consent screen. Approving issues the authorization code; the relying party exchanges it and validates the ID token against your JWKS.
- Later sign-ins — silent. The remembered grant plus a live session on X means no password and no consent prompt; users land straight back in the app. Consent re-appears only if the app asks for more scopes than the user already approved.
- Sign-out — ending the relying party's session alone leaves the session on X alive, so the next sign-in stays silent. For a sign-out that truly re-authenticates, end both sessions; the guide shows the two-line pattern.
Operators can see every relying party in the dashboard — including its discovery URL — and every user's app grants. Revoking a grant makes the next sign-in re-prompt for consent.
Try it in one command
The repository ships a runnable federation: App X is a SqlOS host, App Y is a Next.js app with a Sign in with X button built on Auth.js, both under one .NET Aspire host.
cd examples/SqlOS.SignInWithX.AppY && npm install && cd -
dotnet run --project examples/SqlOS.SignInWithX.AppHost
Open http://localhost:3020 and click the button. The example README points out what to look at along the way.
Why you can trust the protocol surface
Interop claims are cheap, so this repository's CI enforces them: the OpenID Foundation conformance suite runs its Basic OP and Config OP certification plans against a live SqlOS deployment on every change, and a real-browser end-to-end suite drives this exact federation flow — sign-up, consent, remembered grants, and federated sign-out. When you upgrade the package, you inherit that verification.
Start with the Sign in with X guide, or read the OpenID Provider reference for the full option surface.